IT Brochure PDFs
Reply

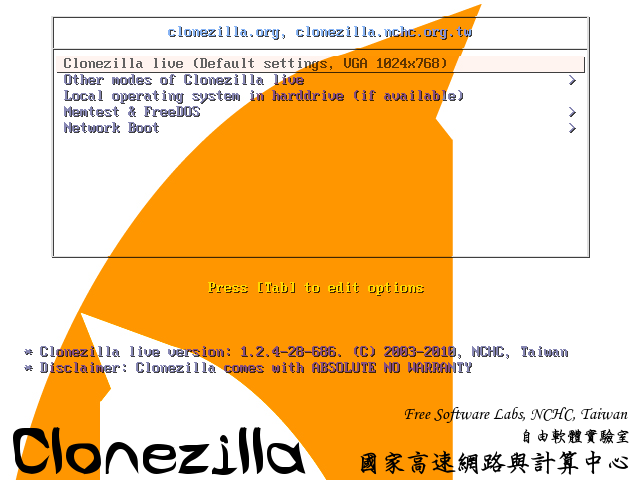
Boot the machine via Clonezilla live by pressing the hotkey (F12) and selecting boot from USB
Select this first option
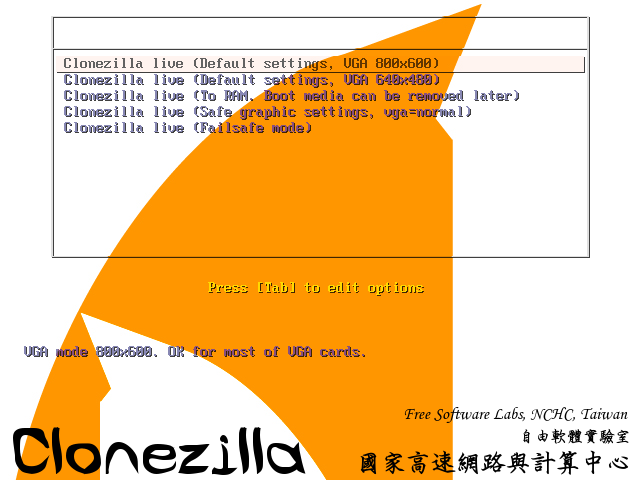
If that does not work select “Other modes of Clonezilla live” and choose “Safe graphic settings, vga=normal”
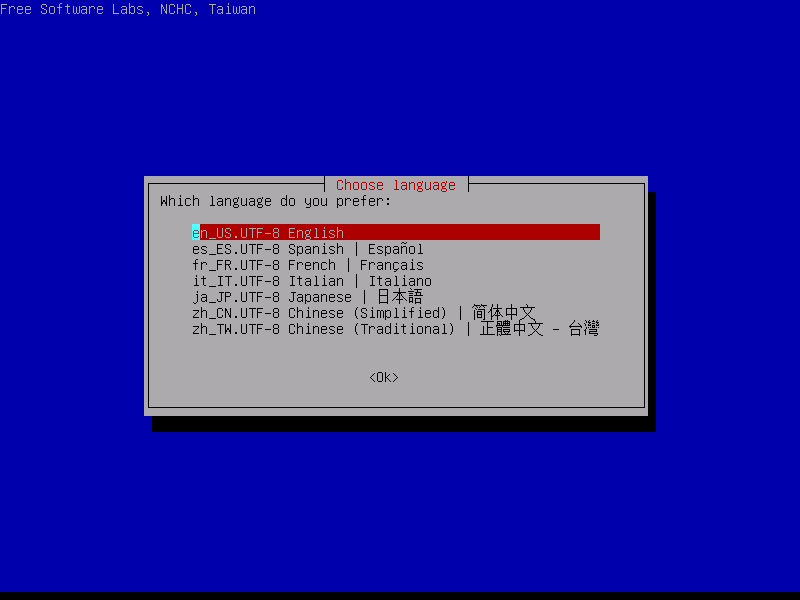
Choose “English” as the language
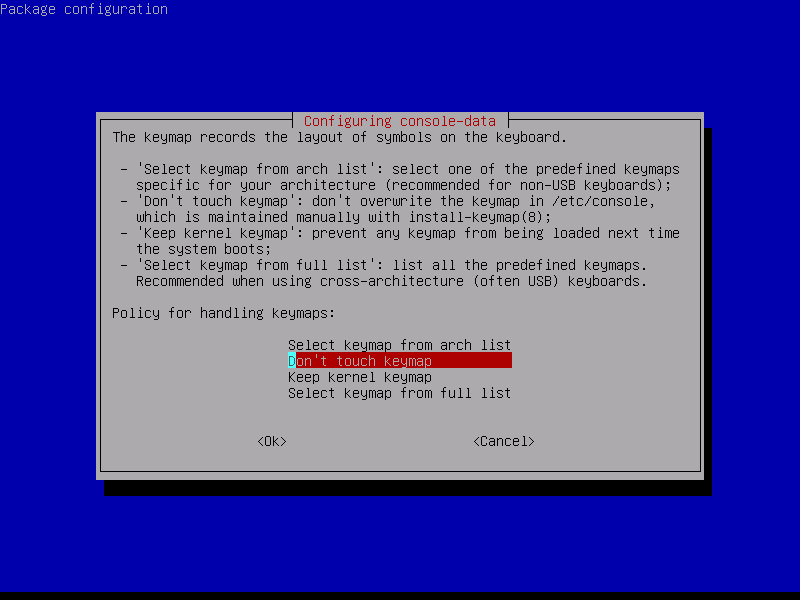
Choose “Don’t touch keymap”
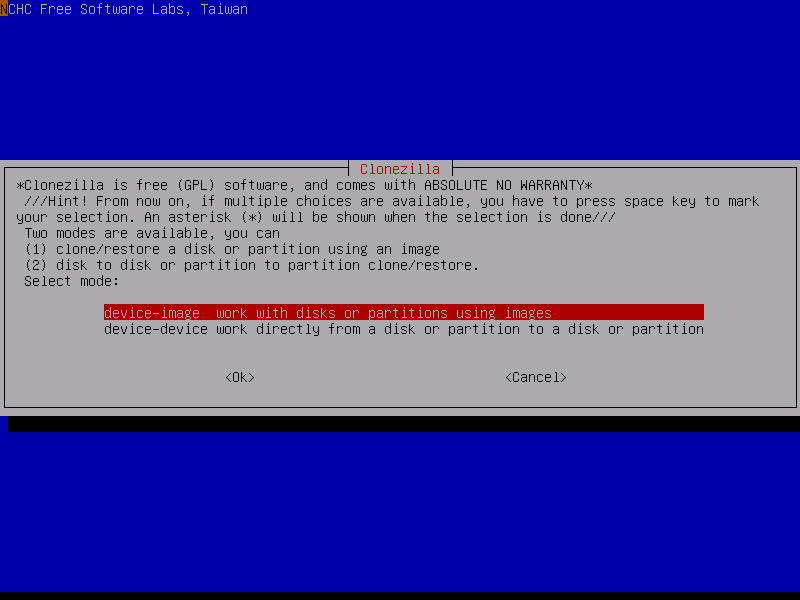
“Start_Clonezilla”
“device-image”
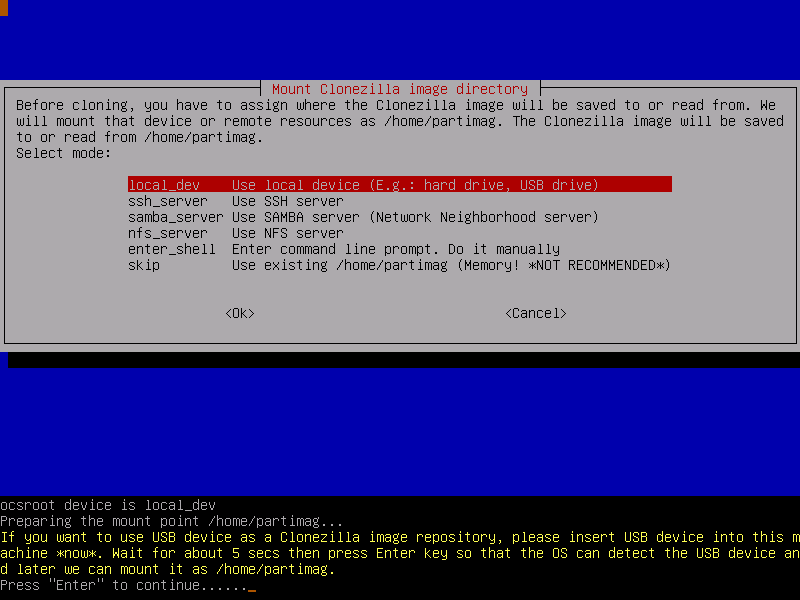
“local_dev”
Then insert the USB or external that the image will be put on, wait 5 seconds and then press enter.
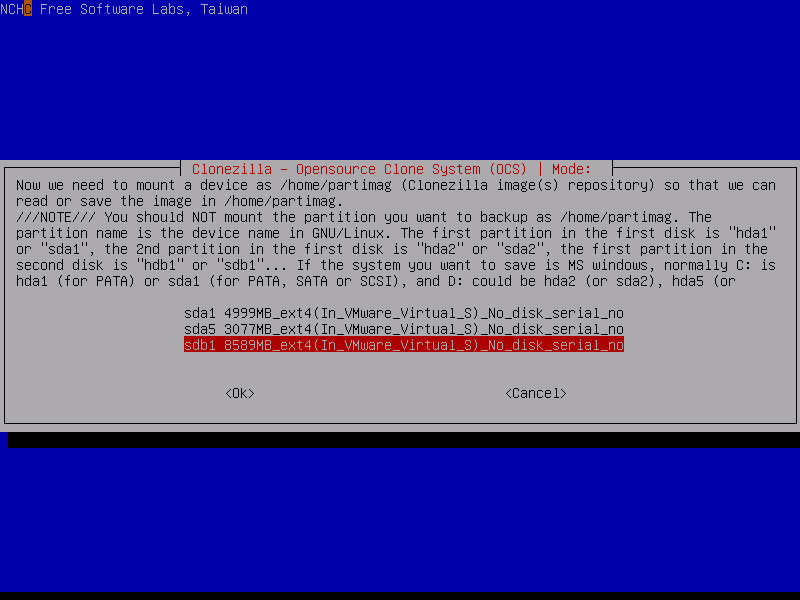
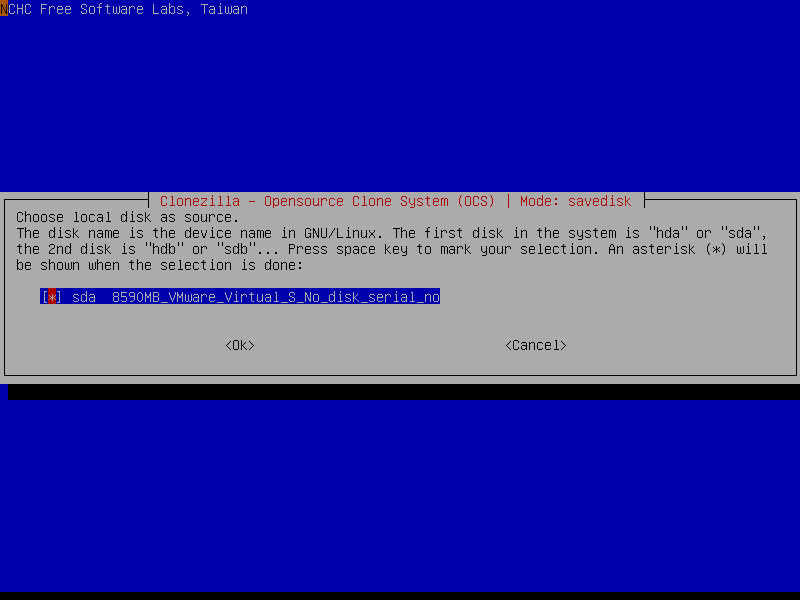
Choose the last option (never should be sda)
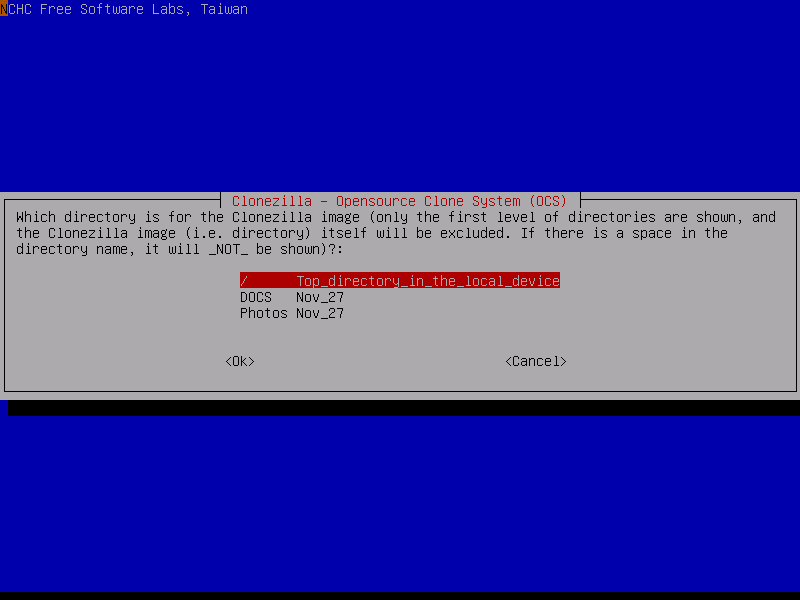
Choose “Top directory”
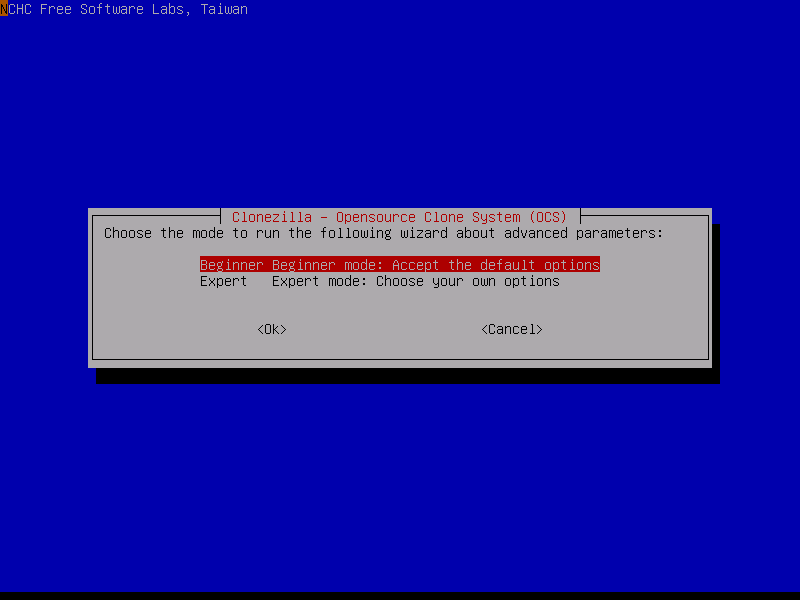
“Beginner mode”
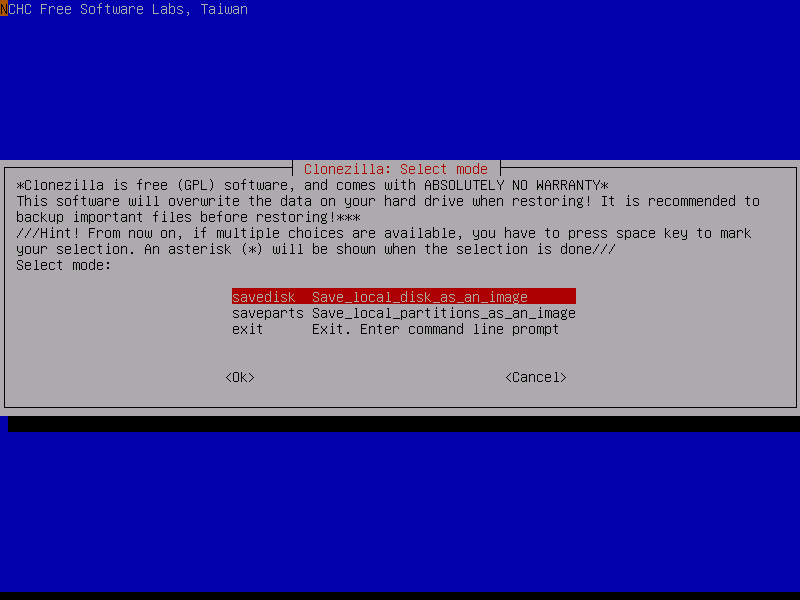
“savedisk”
Name the image something meaningful! (Include the date)
Press enter
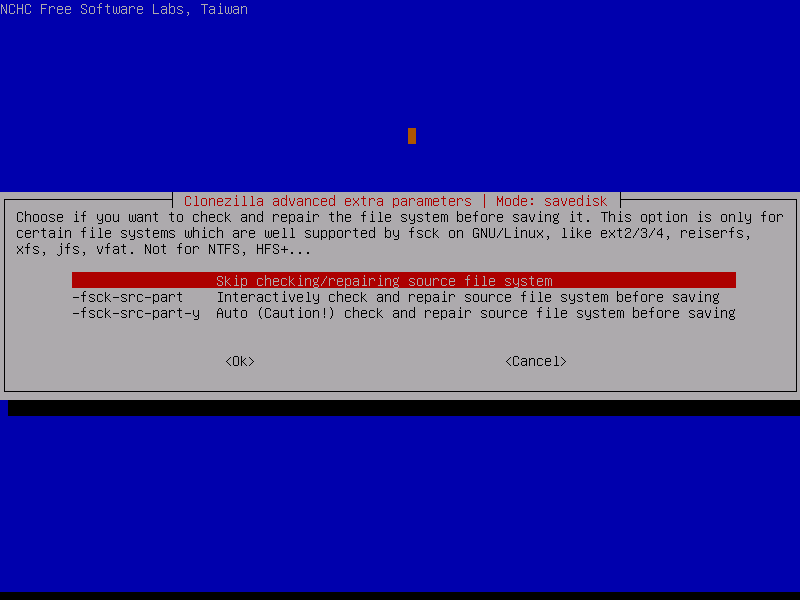
Skip checking
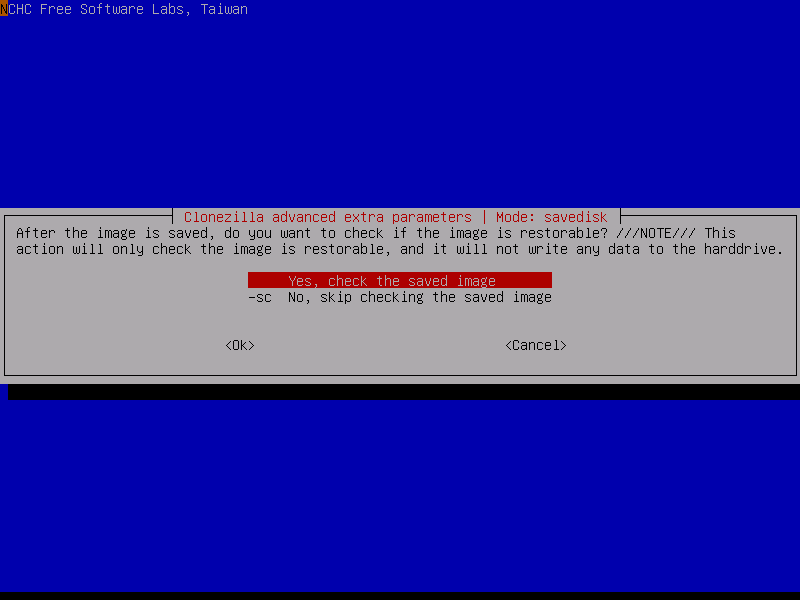
No, skip checking
Press enter from then on until it starts to save the image
Short and easy way to activate windows is by using the command slmgr.vbs/ato in the command prompt terminal. On Windows 8 you type in cmd in the search engine and it will open a separate window
Have you ever tried to log in to Novell and Windows keeps telling you that it cant connect to the network even though the SCU tree shows up?
Well there is an easy solution to that :
Under advanced options where it says servers type-in the address to the server which is 129.210.8.7 or 129.210.8.4 one of those should work.
(NOTE: sometimes *student* will not work if the account name is misspelled )
Boot the machine via Clonezilla live by pressing the hotkey (F12) and selecting boot from USB
If that does not work, select “other modes of Clonezilla live” and choose “Safe graphic settings. vga=normal”
Choose English as the language
Choose “Don’t touch keymap”
“Start Clonezilla”

“device-image”
“Local_dev”, then insert the USB or external that has the image on it, wait 5 seconds and then press enter
Choose the last option(NEVER should be sda)
Choose “top directory”
“Beginner mode”
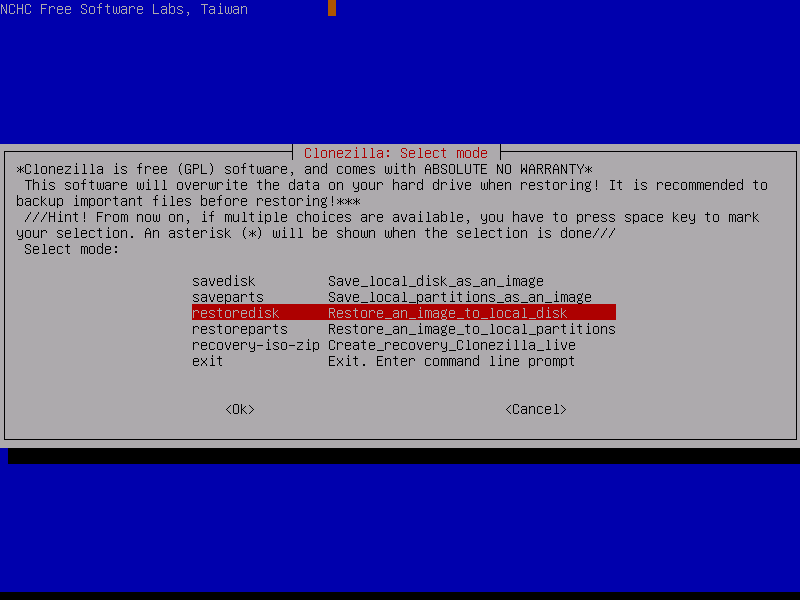
“restoredisk”
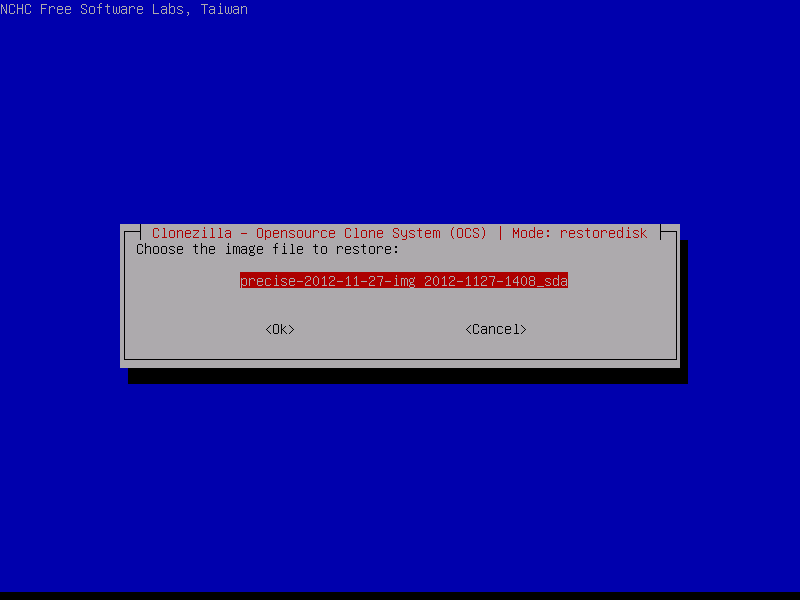
Choose the name of the image
Press enter from then on until it starts to restore the image
Boot the machine via Clonezilla live by pressing the hotkey (F12) and selecting “boot from USB”
Select this first option
If that does not work, select “Other Modes of Clonezilla live” and choose “Safe graphic settings, vga=normal”
Choose English as the Language
Choose “Don’t touch Keymap”
“Start Clonezilla”
“Device-image”
“Local_dev”
Then insert the USB or external that the image will be put on, wait 5 seconds, then press enter
Choose the last option (NEVER should be sda)
Choose “Top Directory”
“Beginner mode”
“save disk”
Name the image something meaningful (include the date)
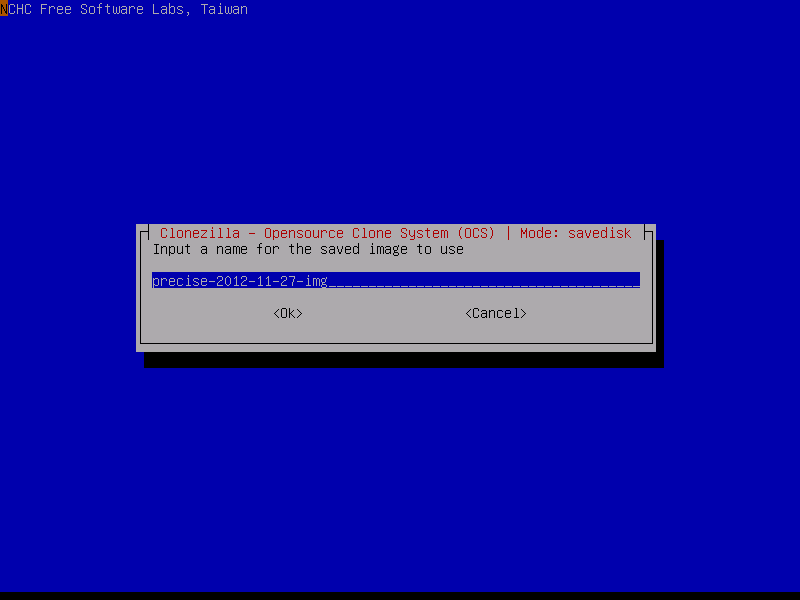
press enter
skip checking
No, skip checking
Press enter from then on until it starts to save the image
Options and Instructions for Digital Faxing at Santa Clara University:
After reviewing the options for multiple digital fax services, we have concluded that Faxzero.com is the best option for students and faculty who would like to send faxes under 3 pages in length. Faxzero.com appears to be the best option because it does not require the user to sign up or login. In addition, other sites such as Myfax.com, efax.com, and Nextiva.com require the user to pay a monthly fee. Although the other sites may offer more options, Faxzero.com provides the easiest to use fax service, while only displaying one advertisement at the beginning of the fax. Finally, if your fax is over the maximum, there is an option to send longer documents for a fee of $1.99.
How to Use Faxzero.com
1. Open up your browser and visit Faxzero.com
2. Enter in all information including your name, email, the recipient, and their phone number. Attach your document and add text if you would like to. The site should look like this:
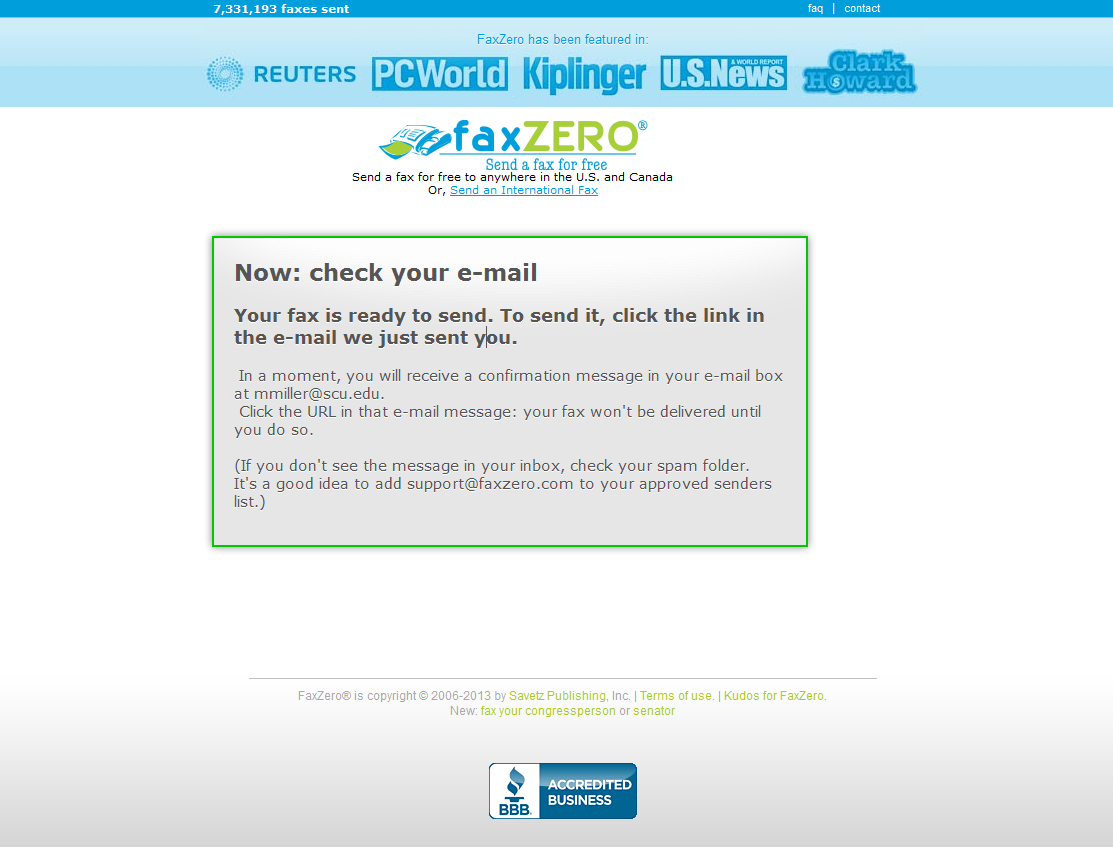
3. Click Send Free Fax Now to send. It should redirect you to a page similar to this:
4. Continue to the email you entered, and inside your email there should be a message from Faxzero.com that looks like this:

5. Click the link and the fax should send to the number you entered above. Below is a copy of a fax sent using this service.

You should also check the Date and Time control panel to ensure it is set to synchronize time via the Internet. You might also want to use a closer NTP server (e.g. one run by your ISP). Type in tick.scu.edu and tock.scu.edu. These will be customized to the Time Clock for World Time Server. Double Check this once your done to ensure its valid
It happens to the best of us: We purchase new Macs and everything is fine. But then, slowly and inevitably, our Macs’ clocks start losing time — a minute here, a minute there, and before we know it our clocks are substantially slower than their accurate counterparts. How do you fix this? Synchronize your Mac’s clock with a time server!
Linking your Mac’s clock to a time server will sync the time on your mac with a server. If you are using Mac OS 10.4 Tiger, you’re probably automatically synced to Apple’s time server, which is time.apple.com. But you can also set up a time server so your clock will be set to your office’s time, or maybe your college’s time (many colleges have their own time servers). Time servers ensure that everyone has the right time, since your Mac will check the time server throughout the day.
Here’s how to synchronize your Mac:
From the Apple menu, select System Preferences. If you’ve recently purchased your Mac, and haven’t modified your Dock, your System Preferences should be on the Dock.
Select Date & Time.
If the lock in the bottom left-hand corner of the window is locked, you will need to unlock it (go to step 4). If it is already unlocked, then go to step 5.
If the lock is locked, you’ll need to authenticate. This lets your Mac know that you’re authorized to make system-level changes. All you need to do is click the lock. Then, you’ll be asked for your administrator password. If you are the administrator, type in your username and password. If you are not the administrator, you will need her to authenticate. Once you’ve typed in your username and password, click OK.
Look at the spotlight in the “Date & Time” window below. That is where you type in your time server. Time servers are also known as “NTP” servers. You can see that the automatic default for the time server is Apple’s very own time.apple.com. But you can change this. Type in a new time server. (I typed in “tick.scu.edu and tock.scu.edu” — a time server that works for here at Santa Clara University)!!! 🙂
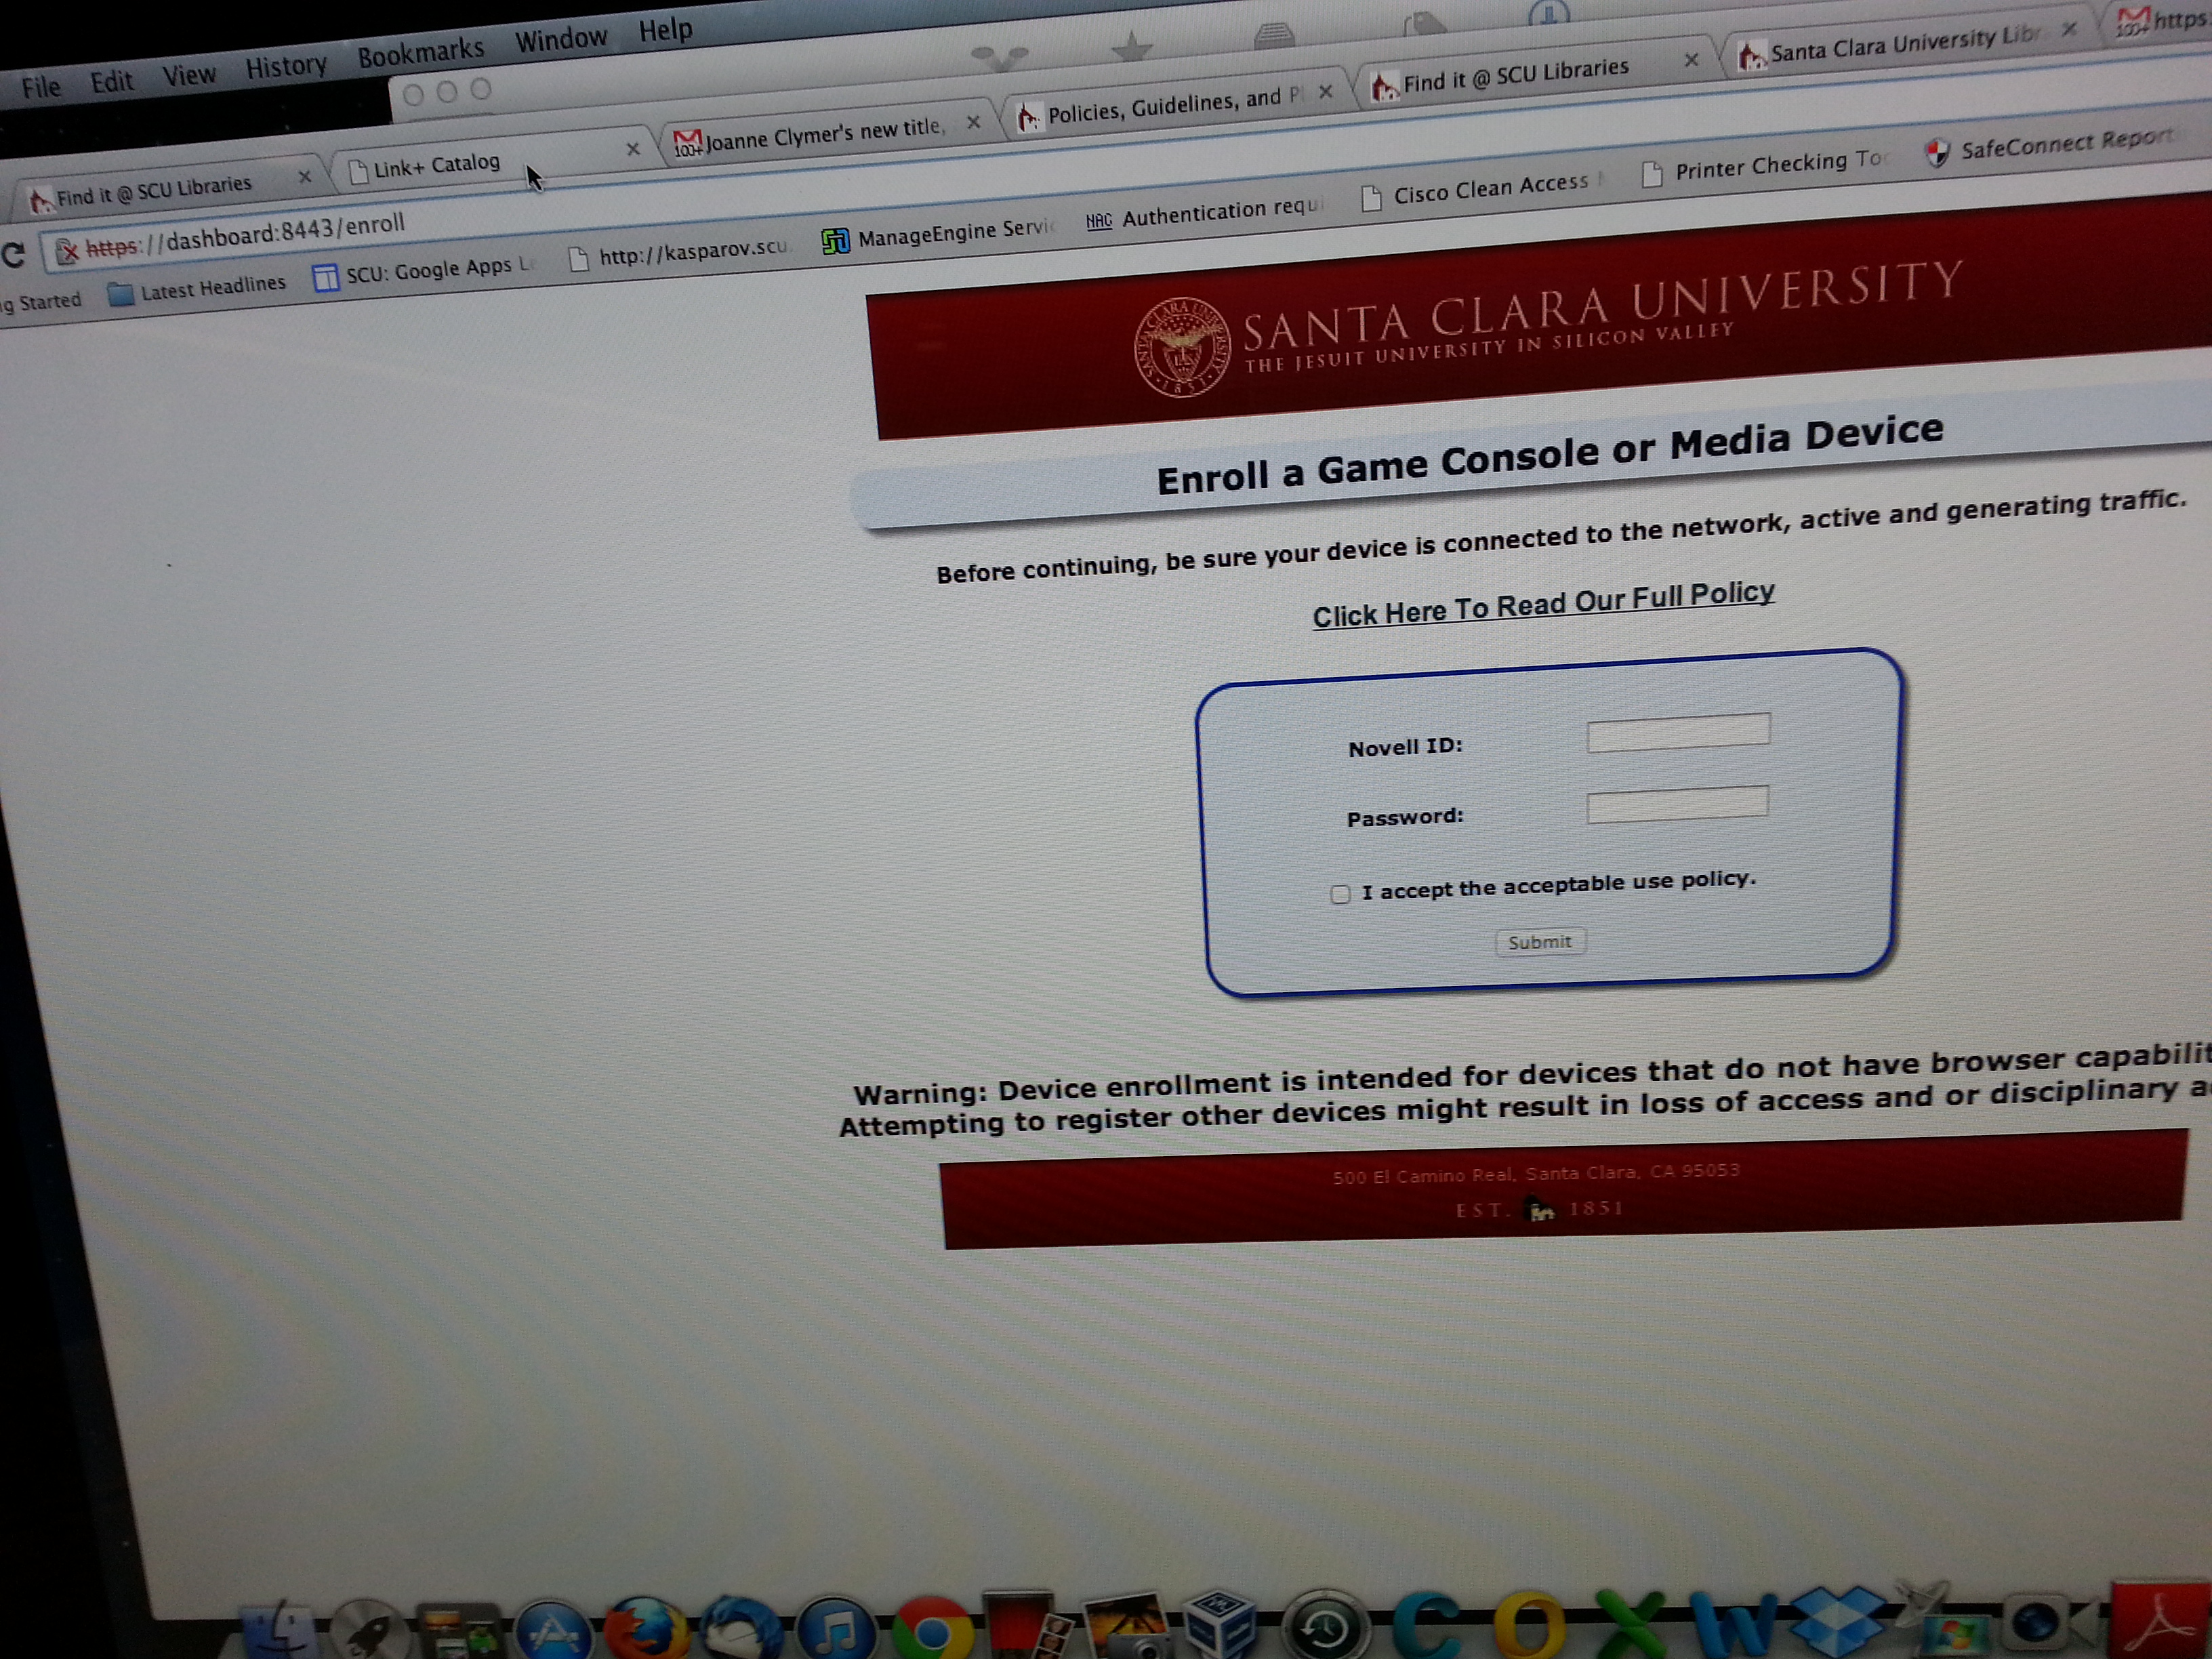
The following is a screenshot of the address that one needs to be entered in order to manually register a game console on the network (if a student is already logged on to Bronco Wifi, if a student is using a wired connection, so on and so forth). Some browsers will give messages regarding faulty security certificates. These should be ignored.