IT Brochure PDFs
Reply

Boot the machine via Clonezilla live by pressing the hotkey (F12) and selecting boot from USB
Select this first option
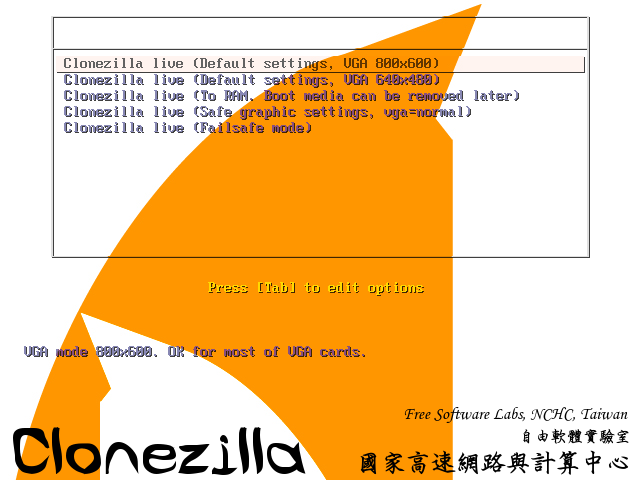
If that does not work select “Other modes of Clonezilla live” and choose “Safe graphic settings, vga=normal”
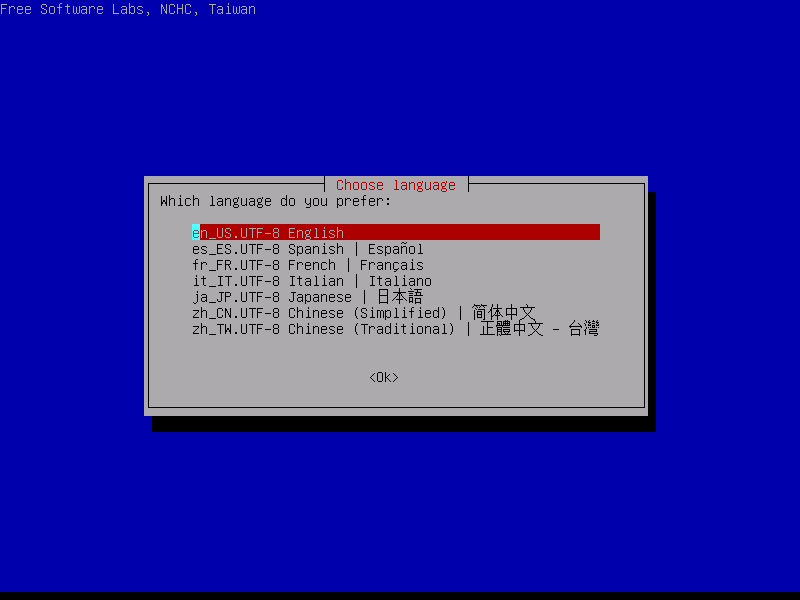
Choose “English” as the language
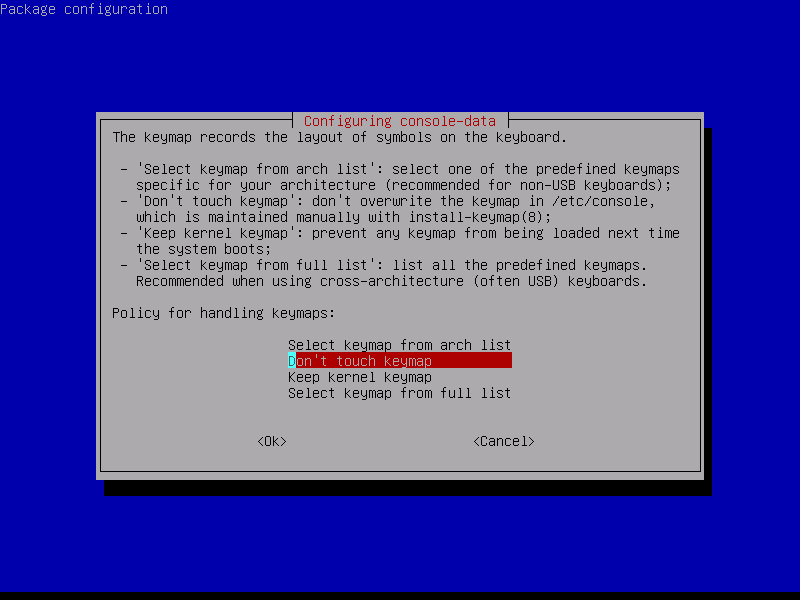
Choose “Don’t touch keymap”
“Start_Clonezilla”
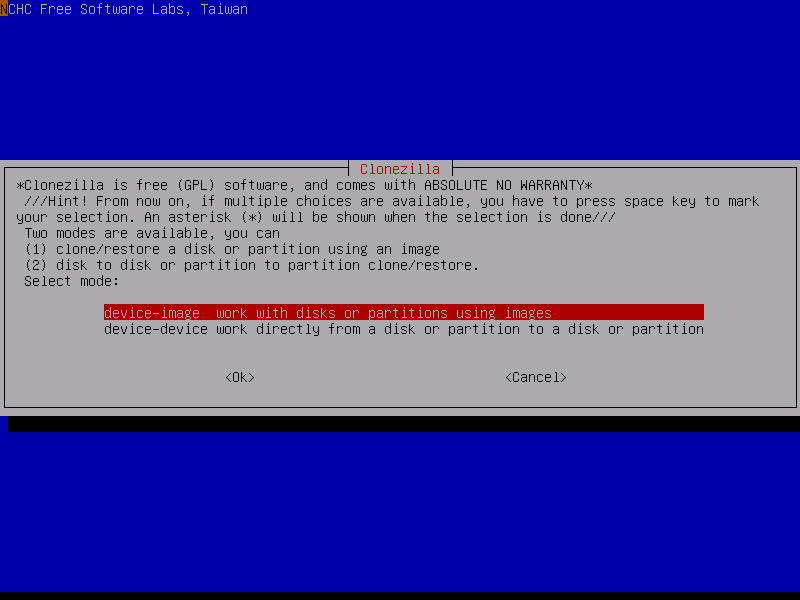
“device-image”
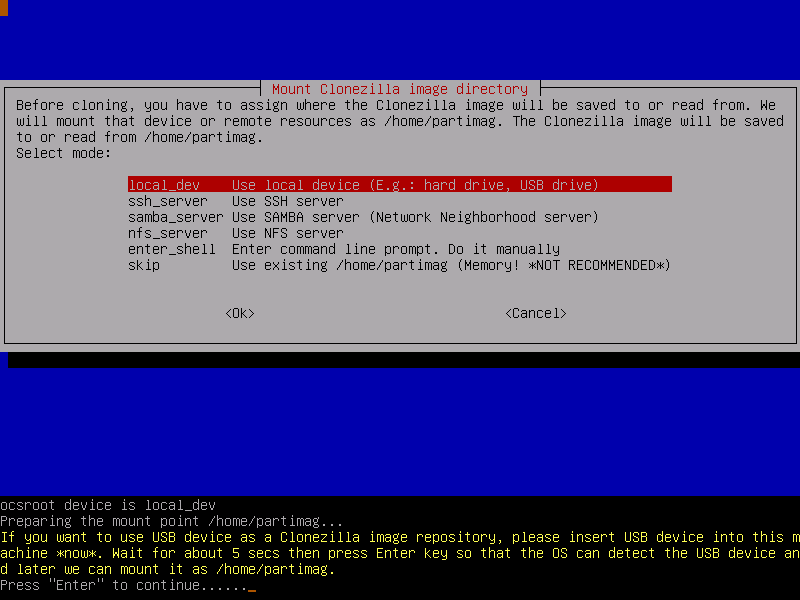
“local_dev”
Then insert the USB or external that the image will be put on, wait 5 seconds and then press enter.
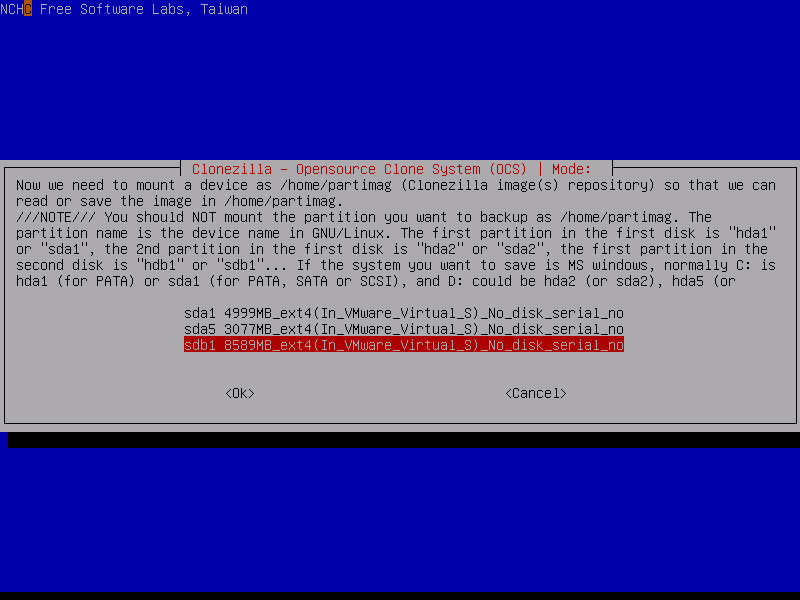
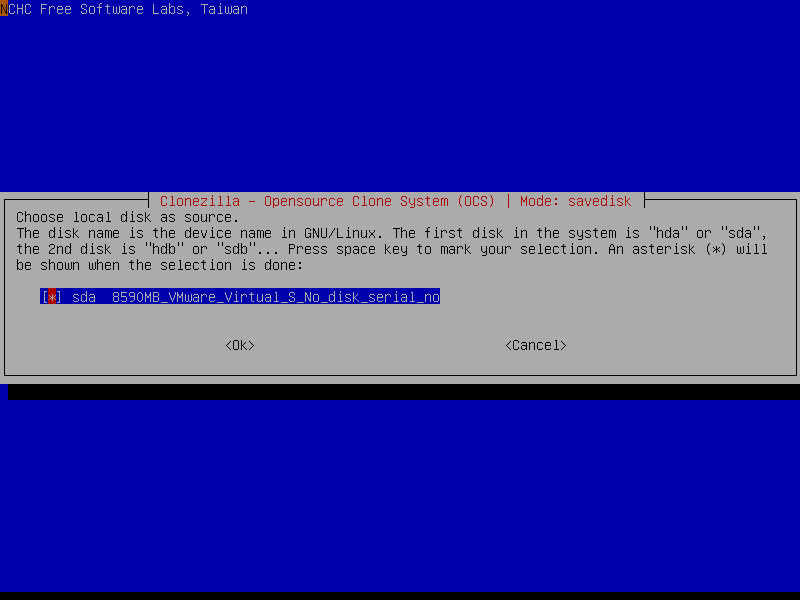
Choose the last option (never should be sda)
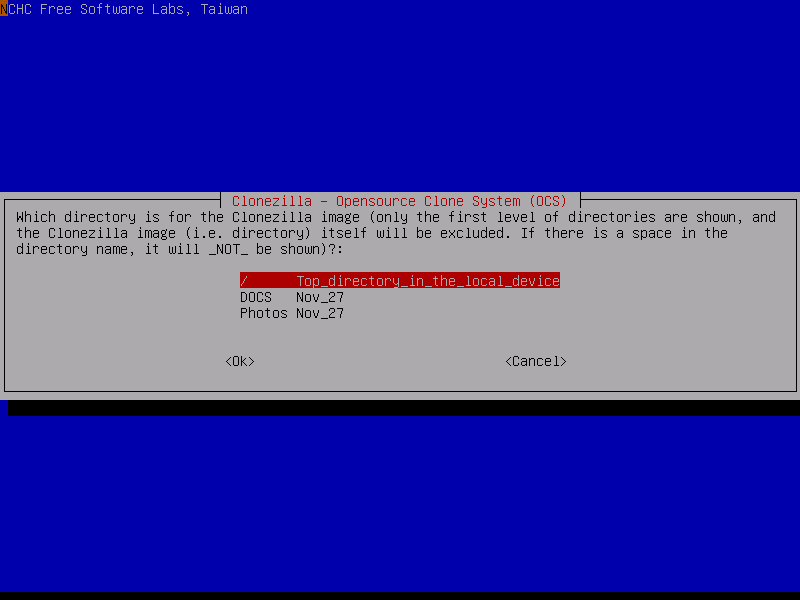
Choose “Top directory”
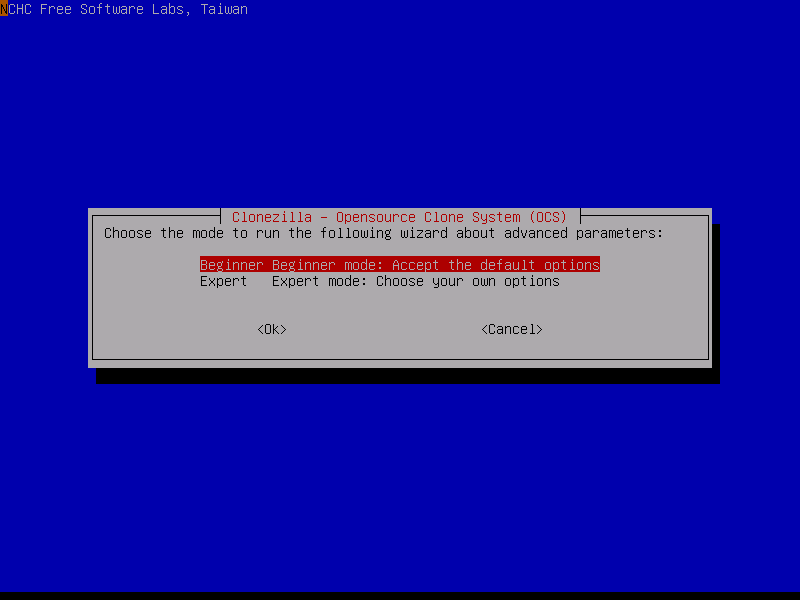
“Beginner mode”
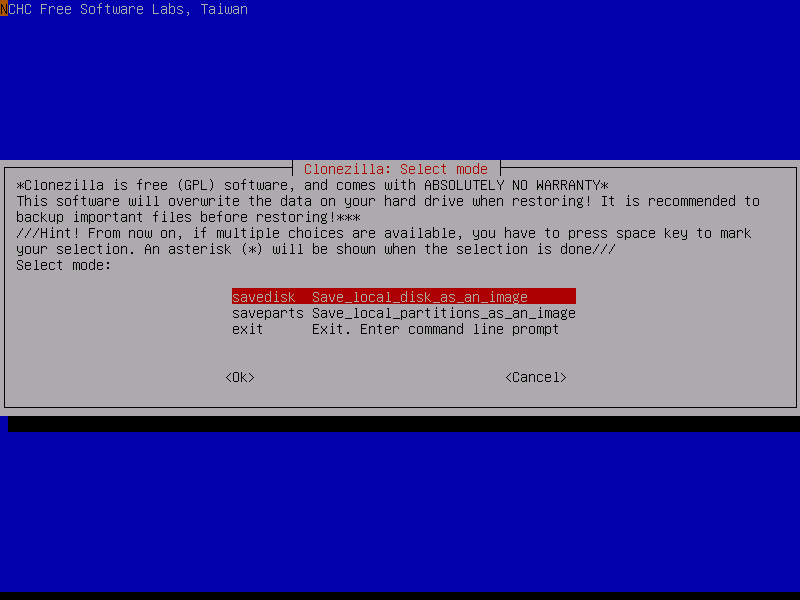
“savedisk”
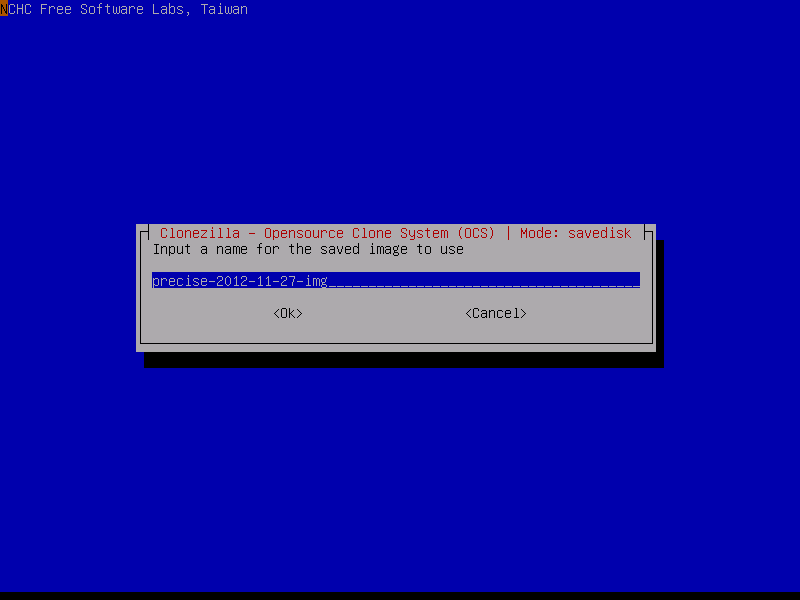
Name the image something meaningful! (Include the date)
Press enter
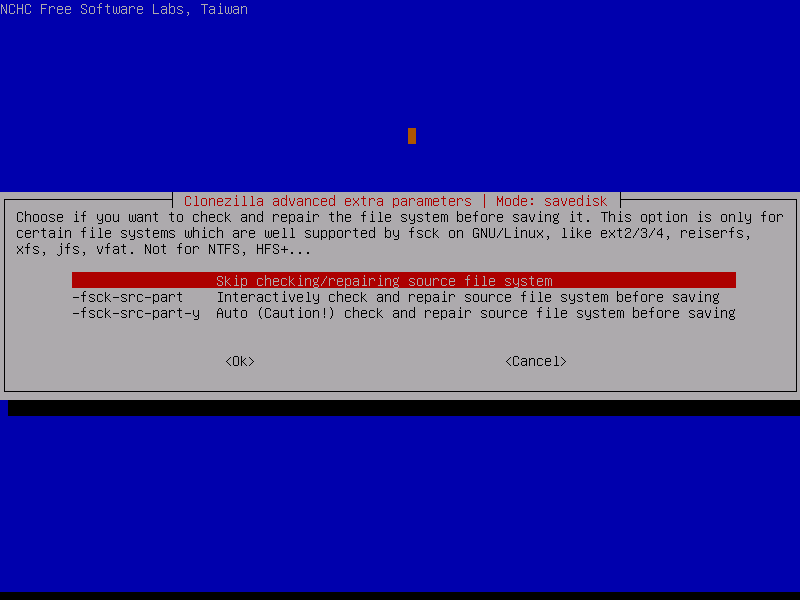
Skip checking
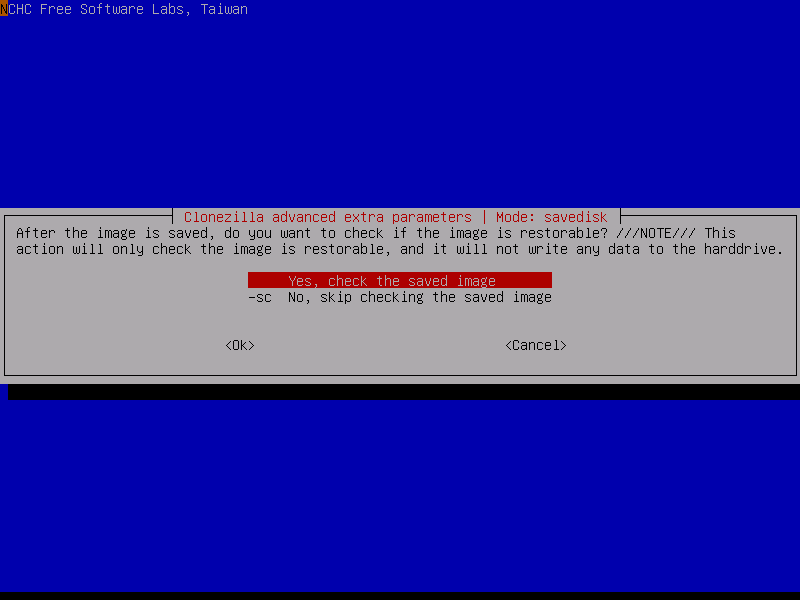
No, skip checking
Press enter from then on until it starts to save the image
Short and easy way to activate windows is by using the command slmgr.vbs/ato in the command prompt terminal. On Windows 8 you type in cmd in the search engine and it will open a separate window
Have you ever tried to log in to Novell and Windows keeps telling you that it cant connect to the network even though the SCU tree shows up?
Well there is an easy solution to that :
Under advanced options where it says servers type-in the address to the server which is 129.210.8.7 or 129.210.8.4 one of those should work.
(NOTE: sometimes *student* will not work if the account name is misspelled )
Boot the machine via Clonezilla live by pressing the hotkey (F12) and selecting boot from USB
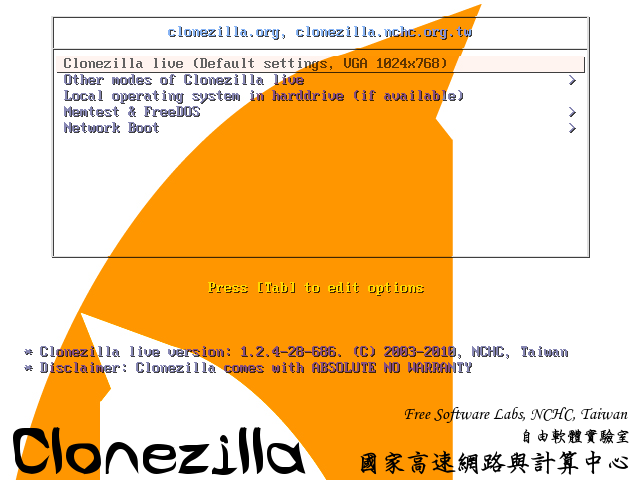
If that does not work, select “other modes of Clonezilla live” and choose “Safe graphic settings. vga=normal”
Choose English as the language
Choose “Don’t touch keymap”
“Start Clonezilla”

“device-image”
“Local_dev”, then insert the USB or external that has the image on it, wait 5 seconds and then press enter
Choose the last option(NEVER should be sda)
Choose “top directory”
“Beginner mode”
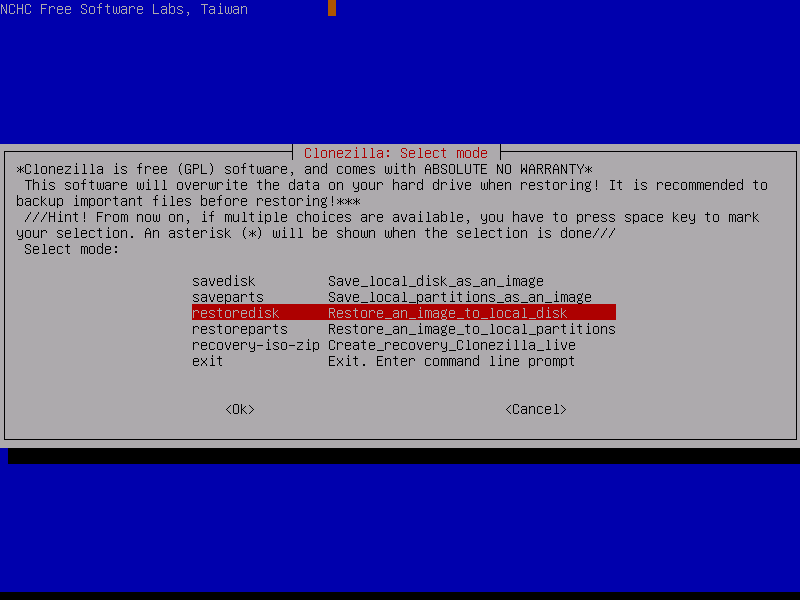
“restoredisk”
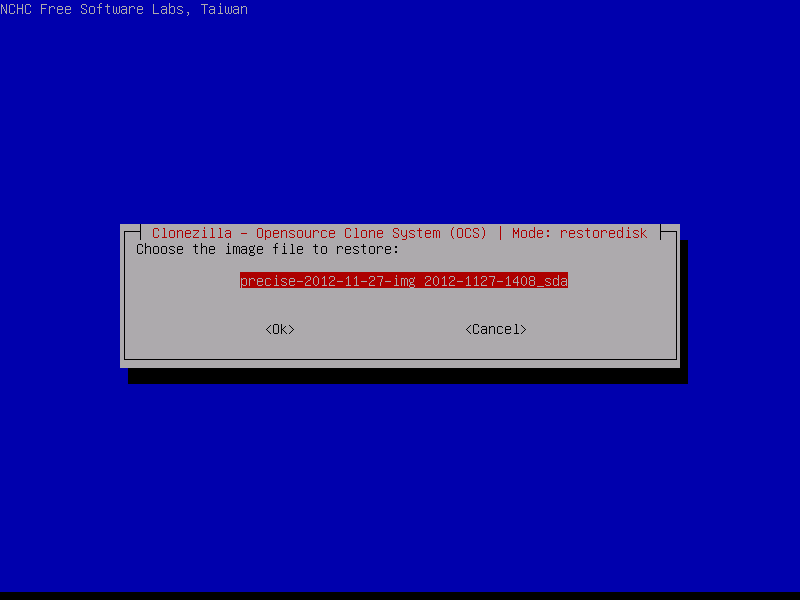
Choose the name of the image
Press enter from then on until it starts to restore the image
Boot the machine via Clonezilla live by pressing the hotkey (F12) and selecting “boot from USB”
Select this first option
If that does not work, select “Other Modes of Clonezilla live” and choose “Safe graphic settings, vga=normal”
Choose English as the Language
Choose “Don’t touch Keymap”
“Start Clonezilla”
“Device-image”
“Local_dev”
Then insert the USB or external that the image will be put on, wait 5 seconds, then press enter
Choose the last option (NEVER should be sda)
Choose “Top Directory”
“Beginner mode”
“save disk”
Name the image something meaningful (include the date)
press enter
skip checking
No, skip checking
Press enter from then on until it starts to save the image